Knowledge Base
- Home
- Knowledge Base
How to Enable Set Line Crossing Detection in HILOOK NVR
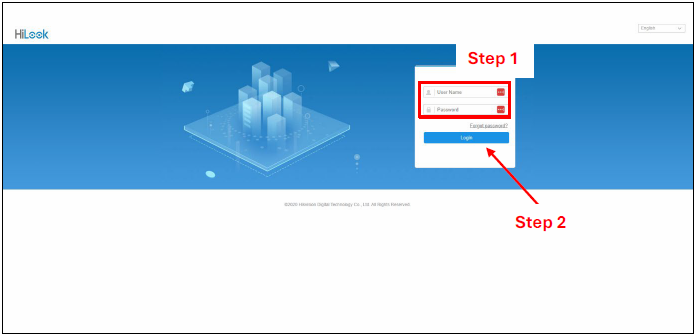
Step 1: Enter NVR Username and Password.
Step 2: Click “Login”.
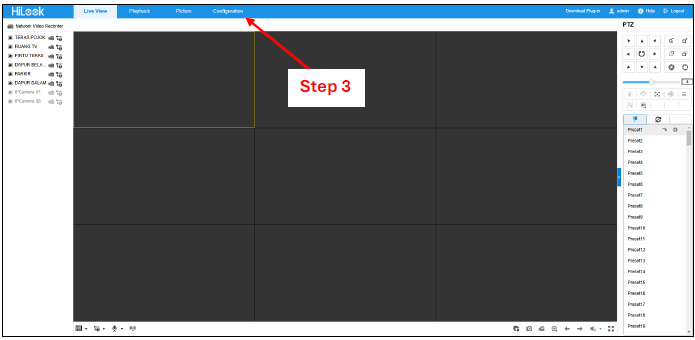
Step 3: Click “Configuration”.
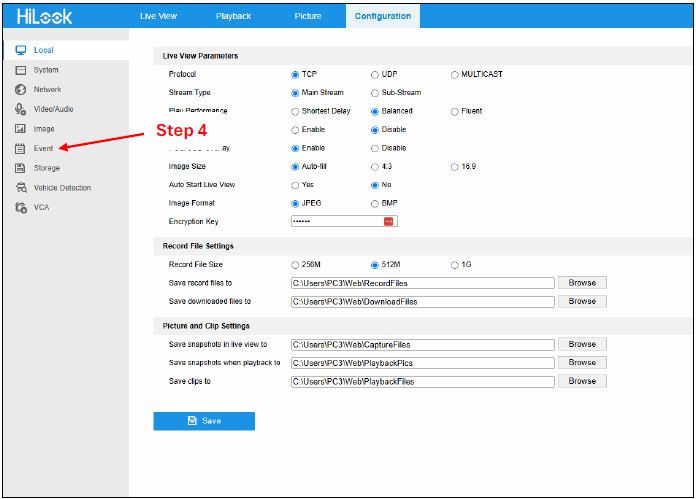
Step 4: Click “Event”.
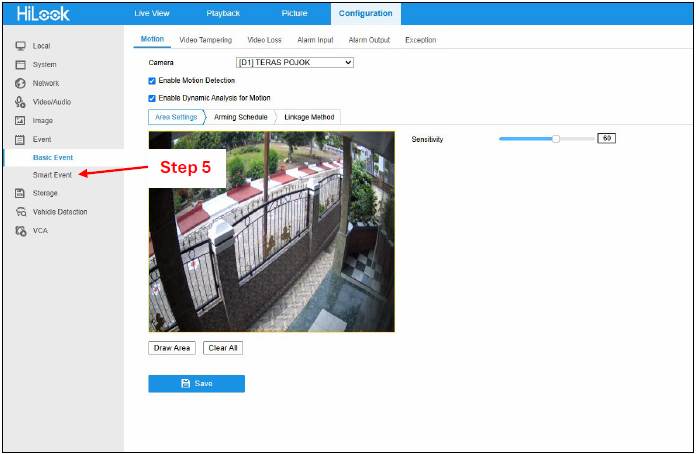
Step 5: Click “Smart Event”.
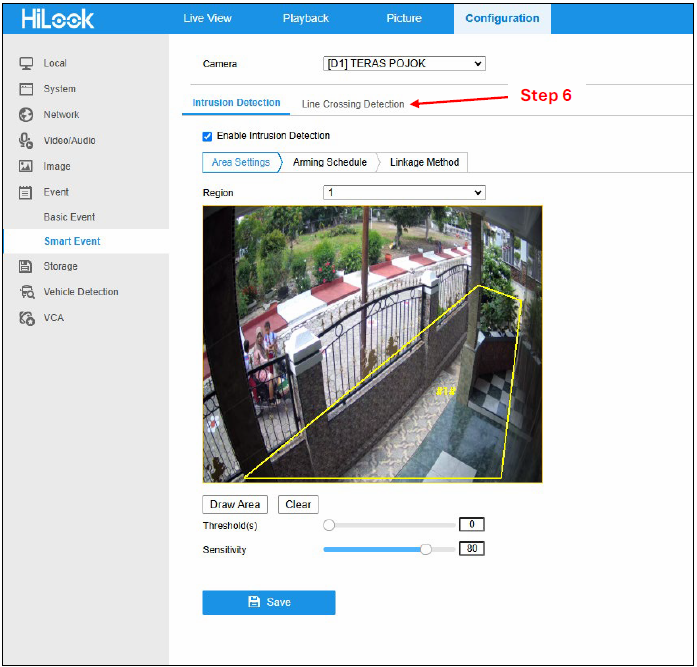
Step 6: Click “Line Crossing Detection”.
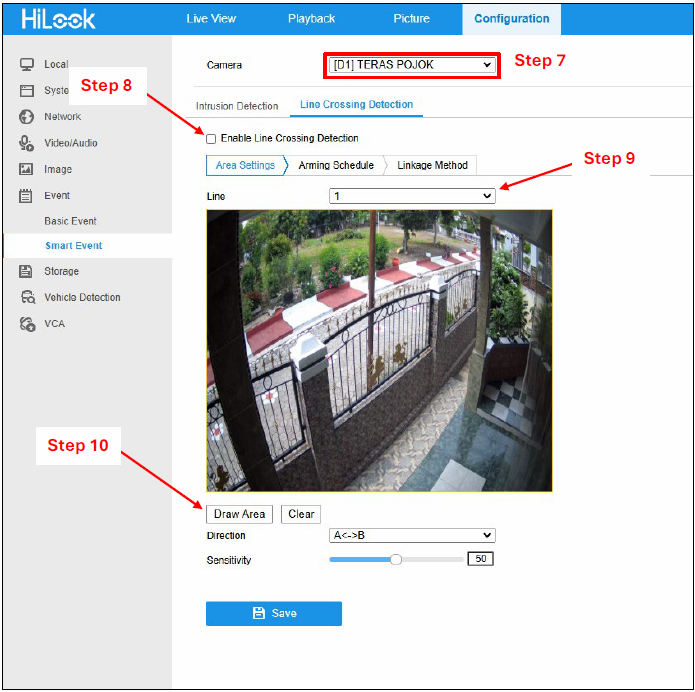
Step 7: Select cameras.
Step 8: Click the check box to enable line crossing detection.
Step 9: Select how many lines you want.
Step 10: Click “Draw Area”.
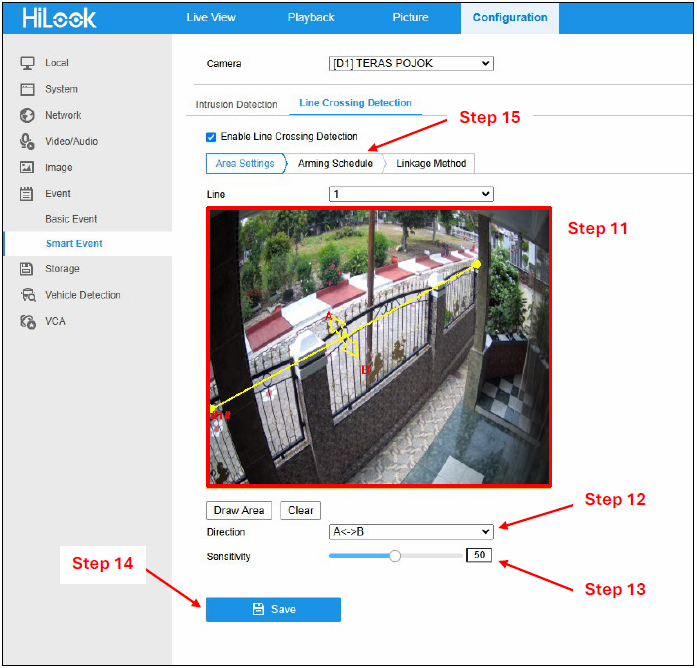
Step 11: Draw a line on the camera view.
Step 12: Set “Direction”.
Step 13: Adjust line crossing detection sensitivity.
Step 14: Click “Save”.
Step 15: Click “Arming Schedule”.
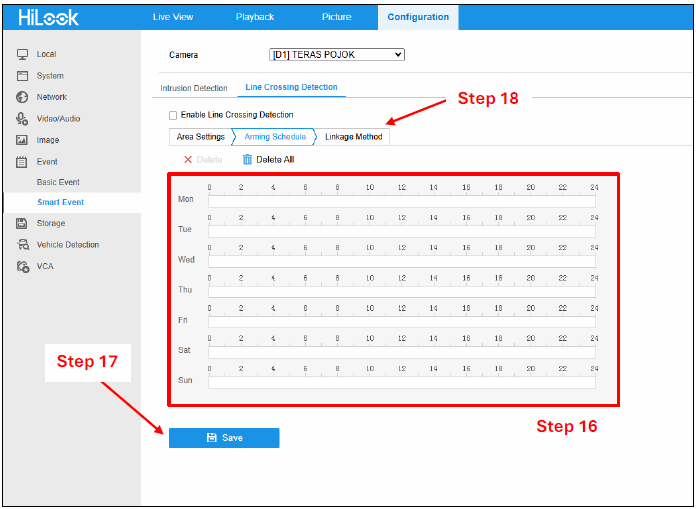
Step 16: Set an arming schedule.
Step 17: Click “Save”.
Step 18: Click “Linkage Method”.
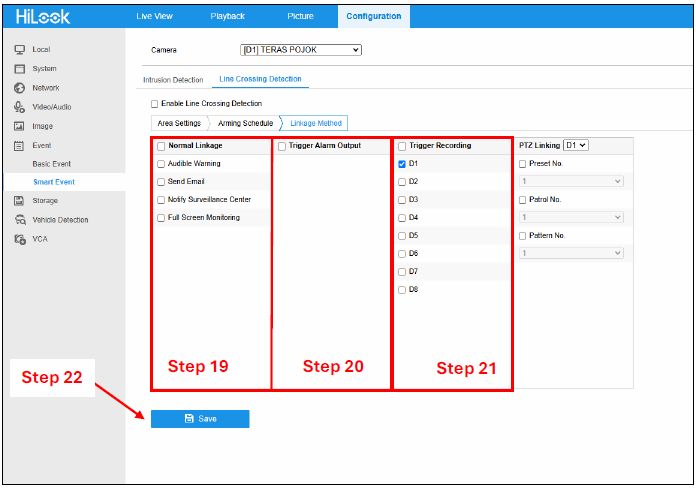
Step 19: Set “Normal Linkage”. For example, you select send email. If a line detection is triggered, NVR will send a notification to your email.
Step 20: Set “Trigger Alarm Output”. For example, you add an alarm output (siren) to your CCTV system. If a line detection is triggered, an alarm output will sound.
Step 21: Set “Trigger Recording”. For example, if a line detection is triggered, you can select any camera that will record it,
Step 22: Click “Save”.
Contact Us Today For A Quote

Copyright © 2024 Xpro Group Pty Ltd TA/S Xpro Security