Knowledge Base
- Home
- Knowledge Base
How to Create Project on HiTools Designer Application (CCTV Section)
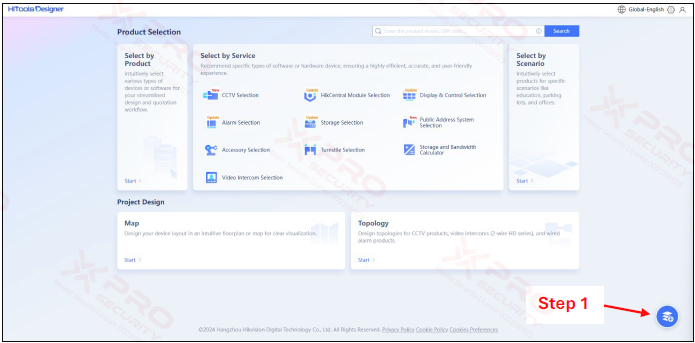
Step 1: Click on the project icon.
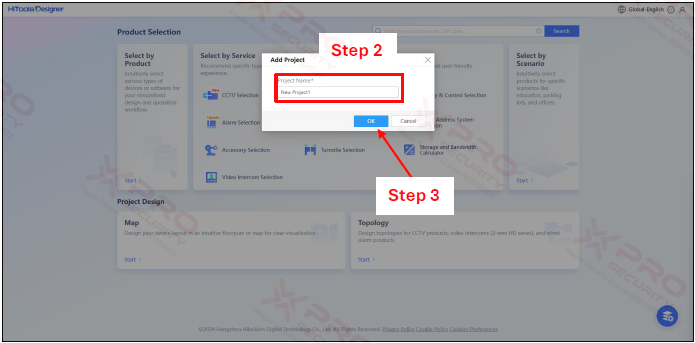
Step 2: Renaming your project.
Step 3: Click on “OK”.
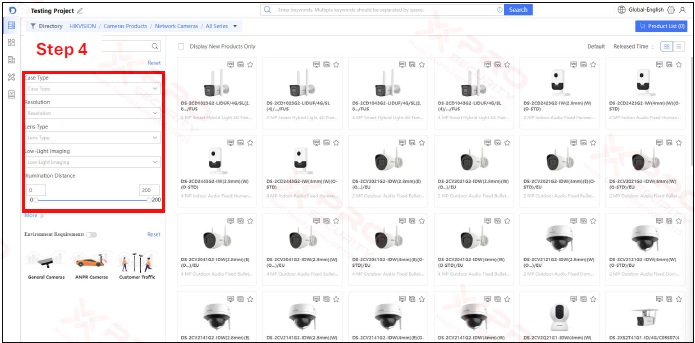
Step 4: To find the camera you want, fill in the camera parameters.
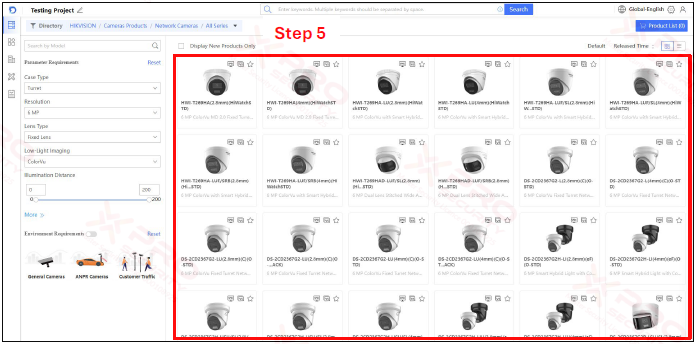
Step 5: Move the cursor to the desired camera.

Step 6: Click on “add” to add camera.
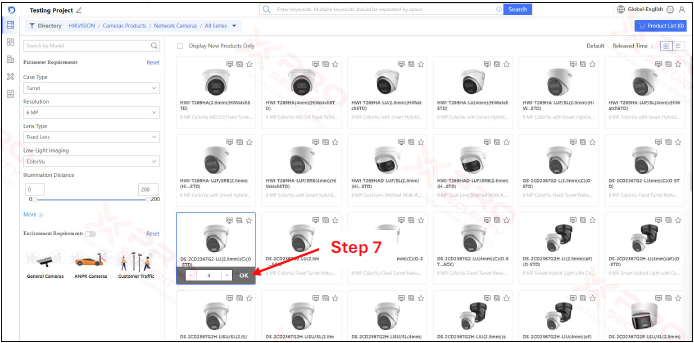
Step 7: Click “OK” after specifying the number of cameras.
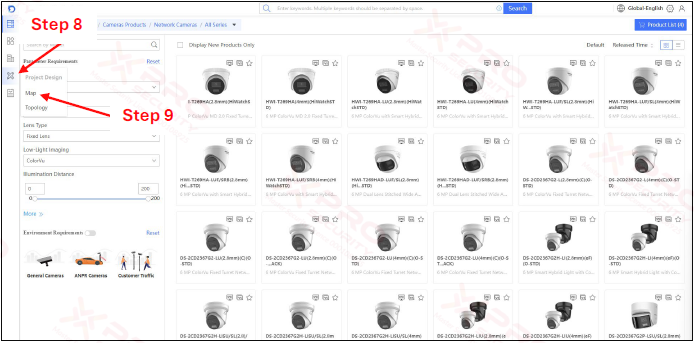
Step 8: Click on the tools icon.
Step 9: Click on “Map”.
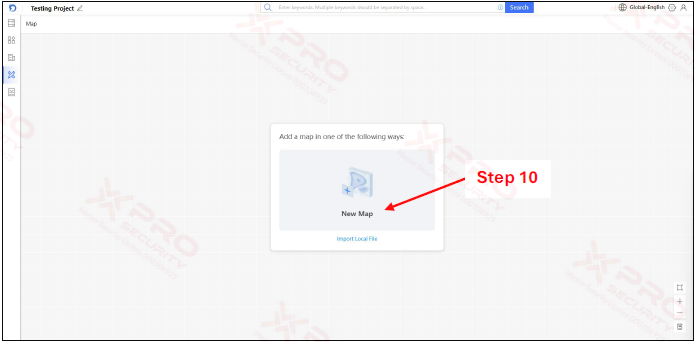
Step 10: Click on “New Map”.
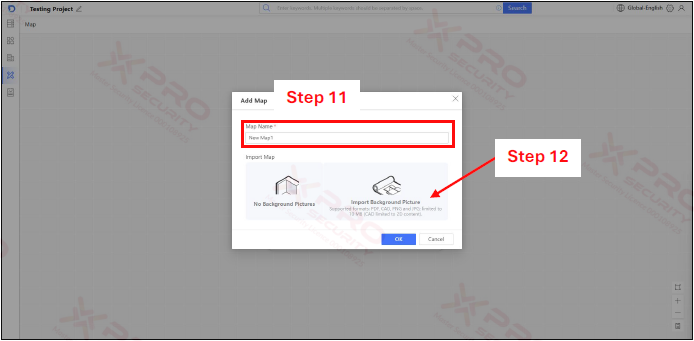
Step 11: Renaming of your map.
Step 12: If you want to upload your map image, click "Import Background Image".
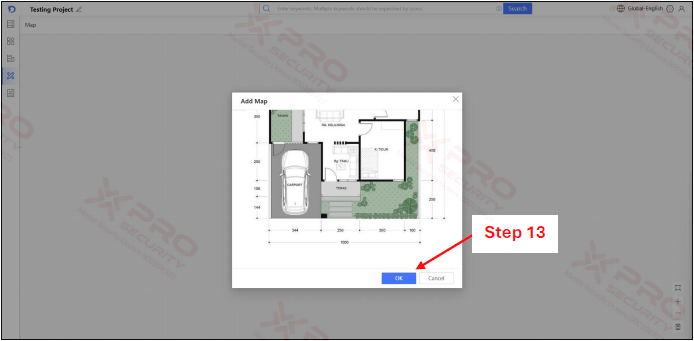
Step 13: Click on “OK”.
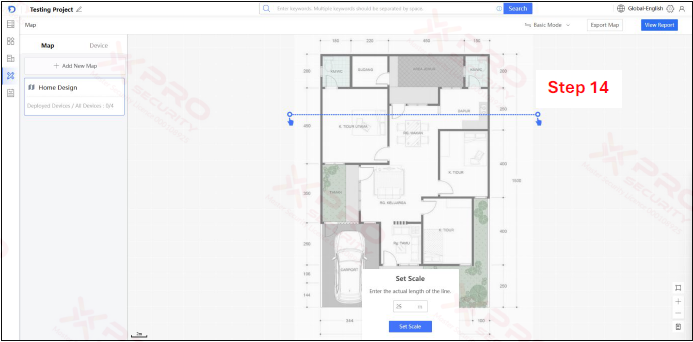
Step 14: Place the lines on the lines of the buildings on your map.
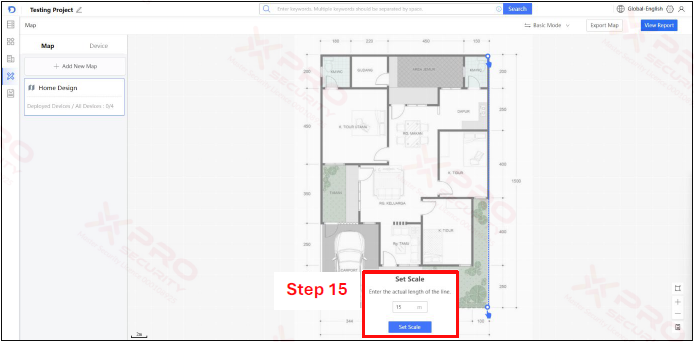
Step 15: Enter the length from start to end according to your building's actual distance and click "Set Scale".
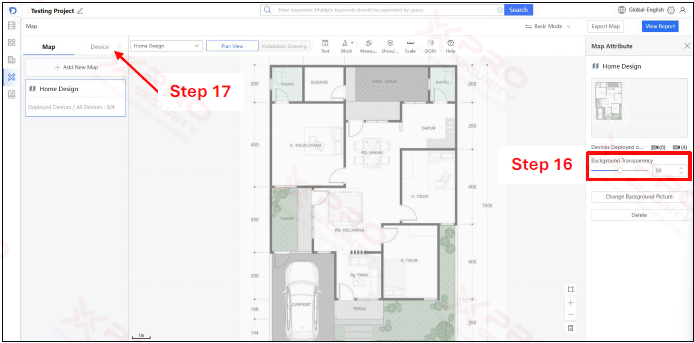
Step 16: Setting transparency.
Step 17: Click on “Device”.
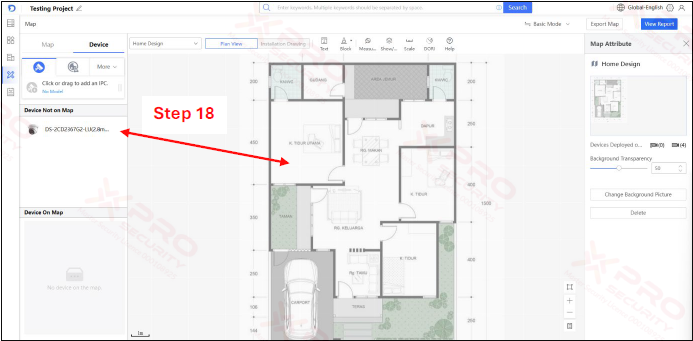
Step 18: Drag and drop the device on the map.
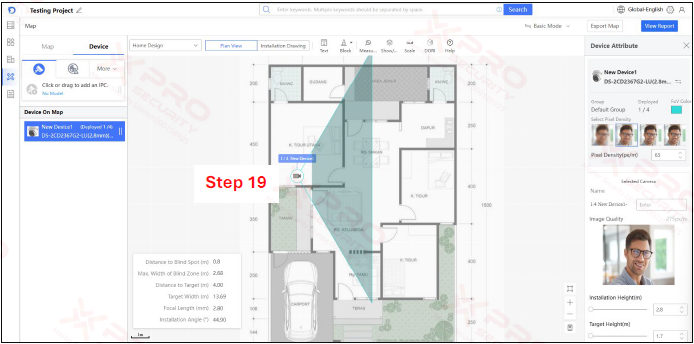
Step 19: Place the unit in the desired position.
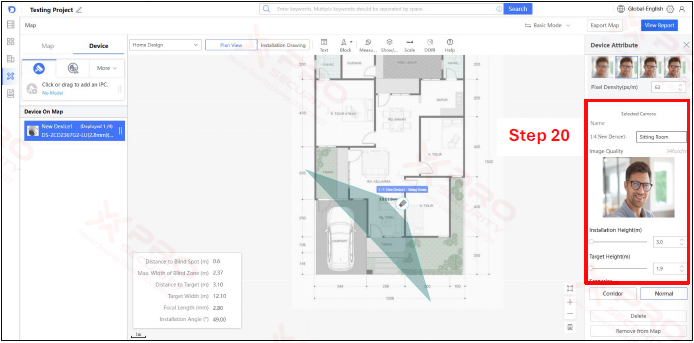
Step 20: Repeat these steps to place additional devices. This panel also allows you to set the device configuration.
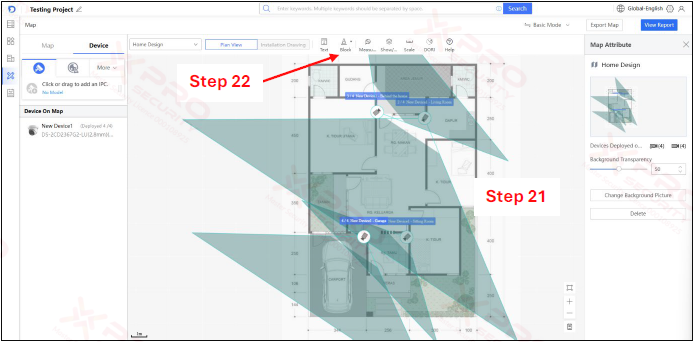
Step 21: All the devices have been added, but the camera's line of sight still goes through the wall lines on your map. You need to draw a barrier line to block the camera's line of sight.
Step 22: Click on “Block”.
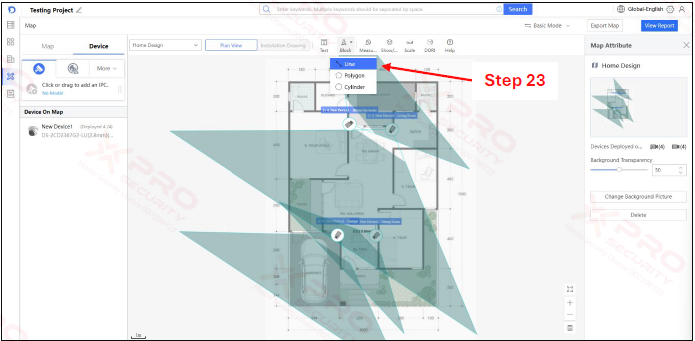
Step 23: Click the Line button, then draw barrier lines on all building wall lines on your map.
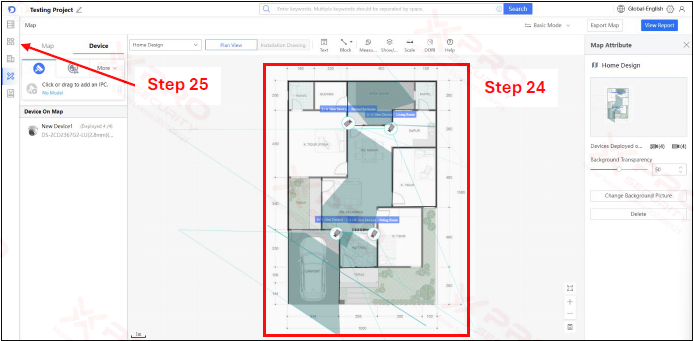
Step 24: The camera's line of sight will no longer pass through the lines of the building walls on the map.
Step 25: Click on the menu icon.

Step 26: Click on “CCTV Section”.
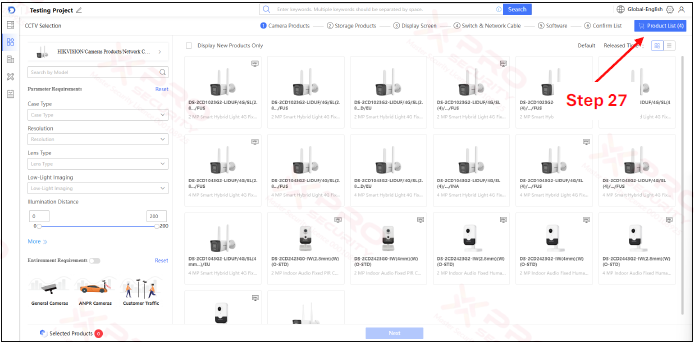
Step 27: Click on “Product List”.

Step 28: Click on “Storage”.
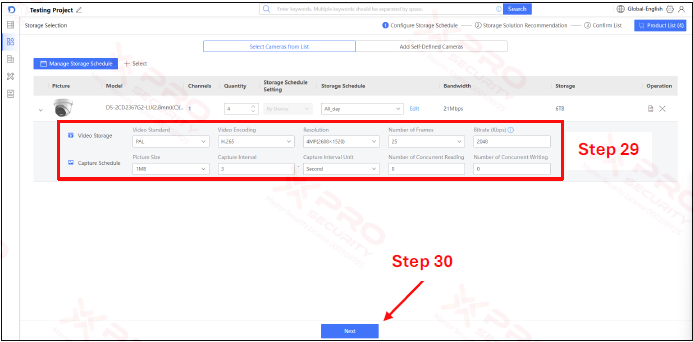
Step 29: Set up your camera to store and schedule video.
Step 30: Click on “Next”.
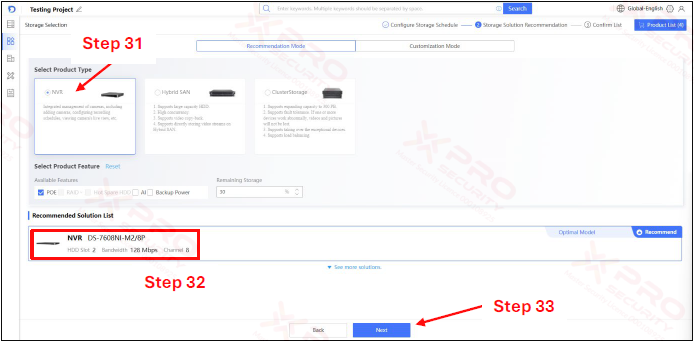
Step 31: Click on “NVR”.
Step 32: This is the recommended amount of storage for you. It is based on the number of cameras you have and the video storage and recording schedule you have set.
Step 33: Click on “Next”.
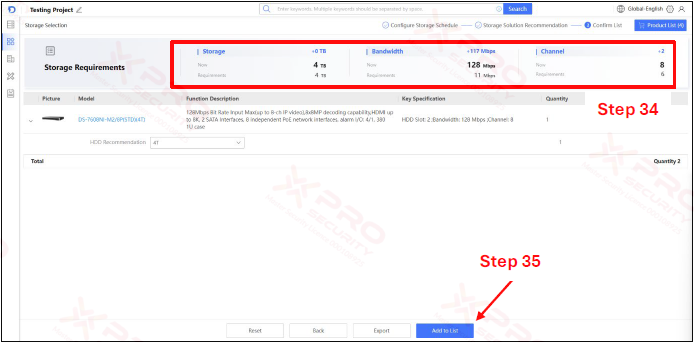
Step 34: Make sure that the required space is allocated.
Step 35: Click on “Add to list”.
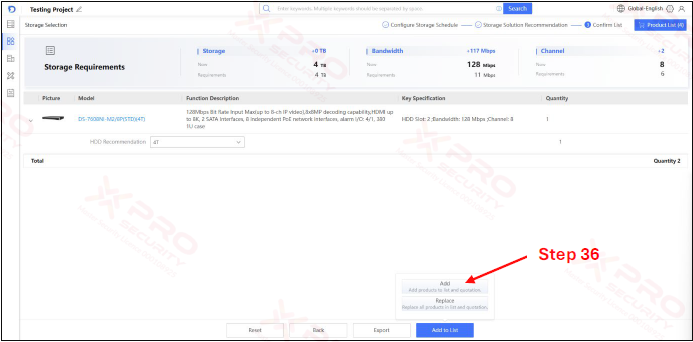
Step 36: Click on “Add”.
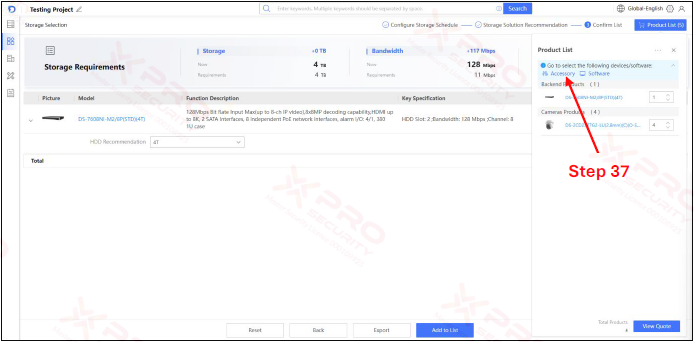
Step 37: Click on “Accessory”.
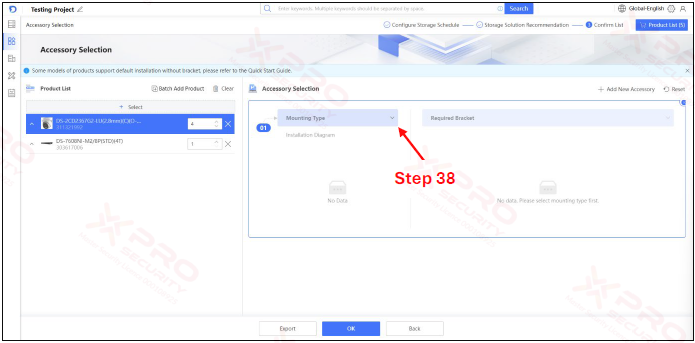
Step 38: Click on “Mounting Type”.
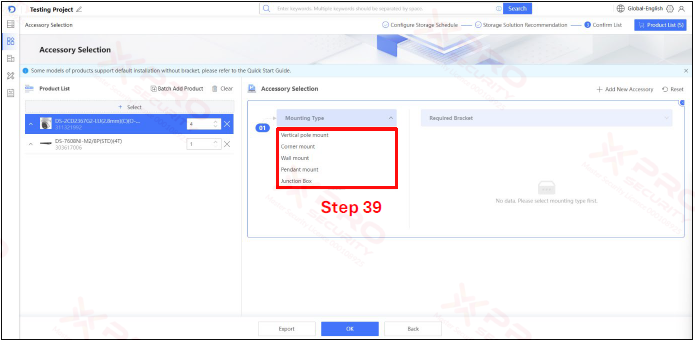
Step 39: Choose mounting type.
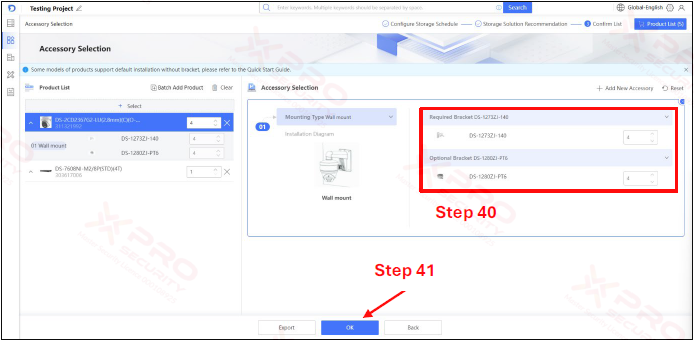
Step 40: Determine the number of brackets needed.
Step 41: Click on “OK”.
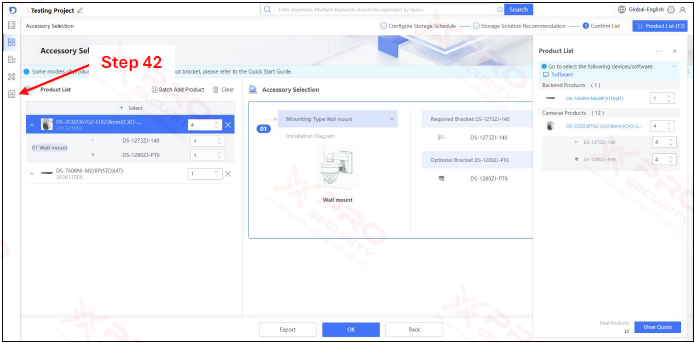
Step 42: Click on the report icon.
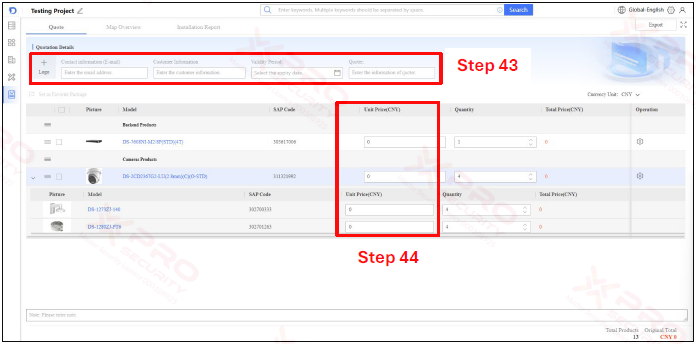
Step 43: Enter your logo, e-mail address, customer information, time period, and quote.
Step 44: Determine to price each product.

Step 45: Click on “Map Overview”.
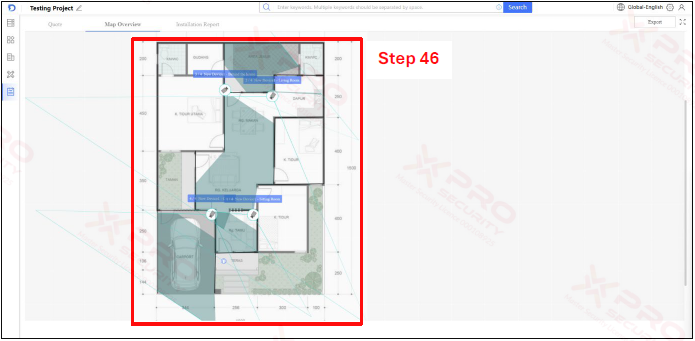
Step 46: This page contains the maps and the devices that have been placed at a specific point on the map.
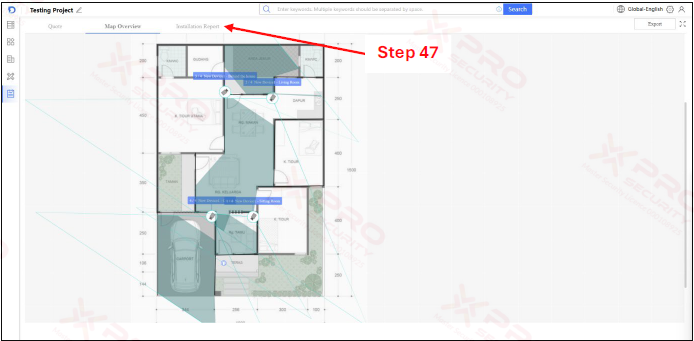
Step 47: Click on “Installation Report”.
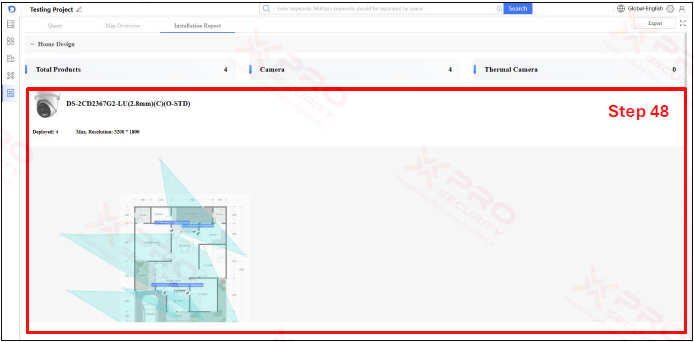
Step 48: This page shows the number of devices you are using and configuration information for each device.
Contact Us Today For A Quote

Copyright © 2024 Xpro Group Pty Ltd TA/S Xpro Security