Knowledge Base
- Home
- Knowledge Base
How to Add Wireless Detector on AX Hybrid
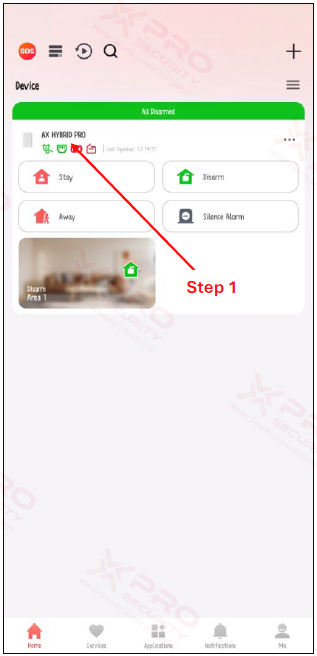
Step 1: Click the “Device” icon.
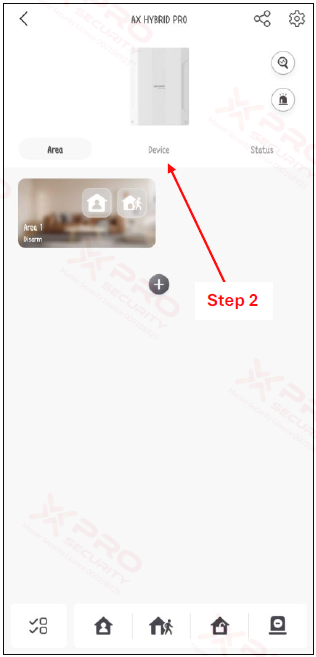
Step 2: Click “Device”.
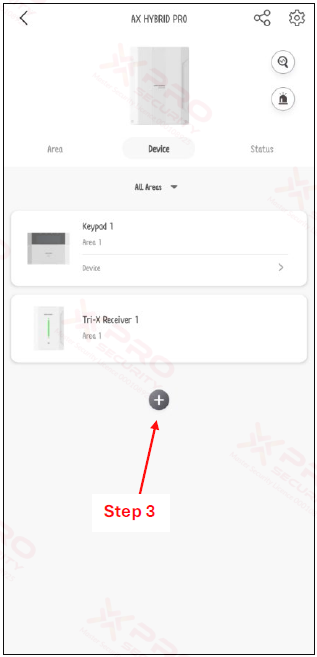
Step 3: Click the “Plus” icon.
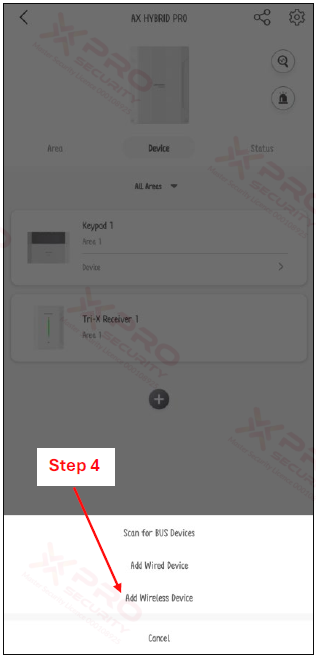
Step 4: Click “Add Wireless Device”.
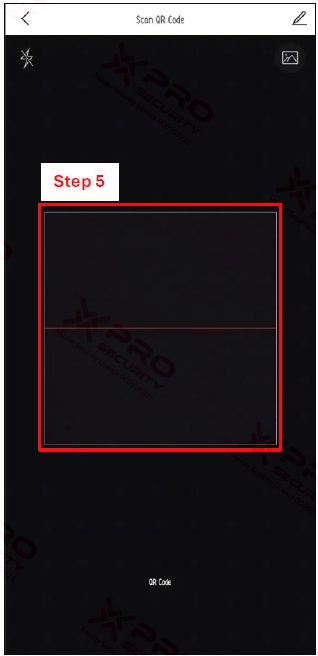
Step 5: Scan the device's QR code. The QR code is usually attached to the detector's back.
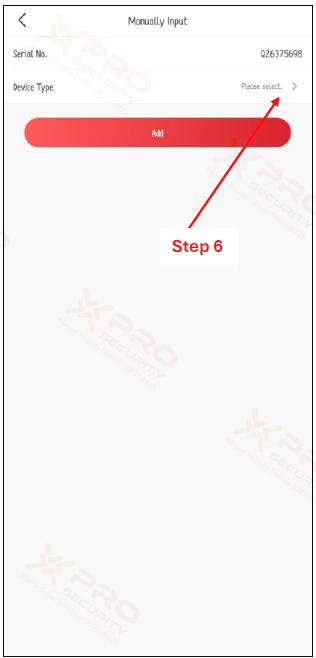
Step 6: Click “Device Type”.
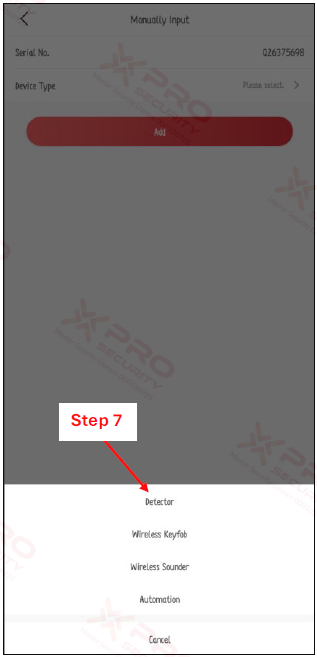
Step 7: Click “Detector”.
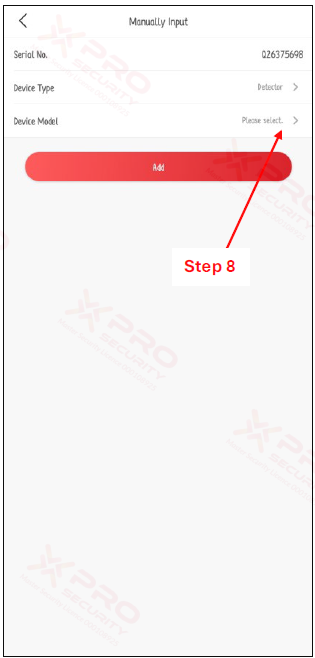
Step 8: Click “Device Model”.

Step 9: Select Device Model. The device model can be found on the detector box.
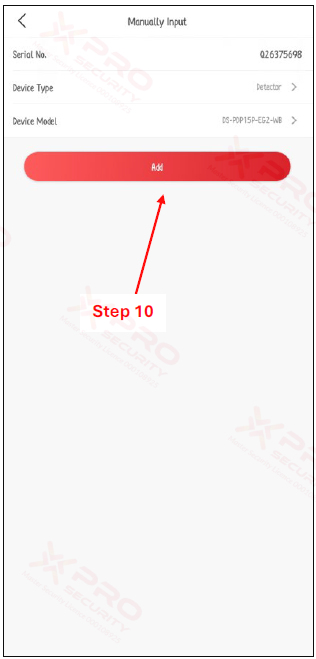
Step 10: Click “Add”.

Step 11: Select Module (Only the Receiver can connect to the detector).
Step 12: Click “Next”.
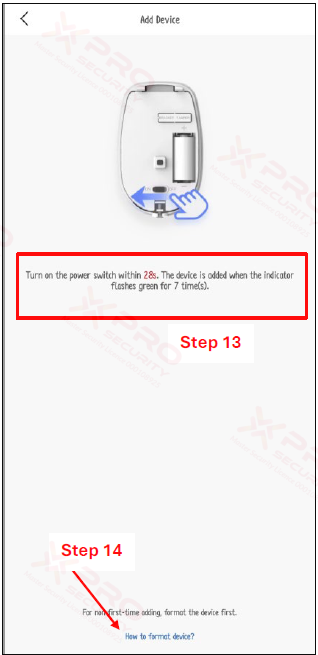
Step 13: Turn on the power switch. The device is added when the indicator flashes green for 7 time(s).
Step 14: If you’ve gone through step 13 multiple times and the detector still isn't connecting, go ahead and format the device by clicking on “How to format device?” and following the instructions provided. Once you've successfully formatted the device, confidently proceed to repeat step 13.
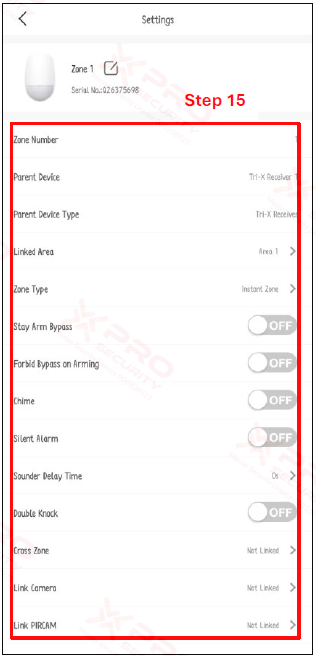
Step 15: When the device settings column is visible, it clearly shows that the detector is connected.
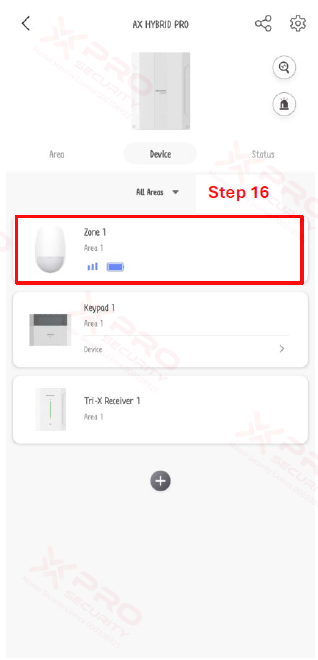
Step 16: The detector is successfully listed among the devices connected to the panel.
Contact Us Today For A Quote

Copyright © 2024 Xpro Group Pty Ltd TA/S Xpro Security